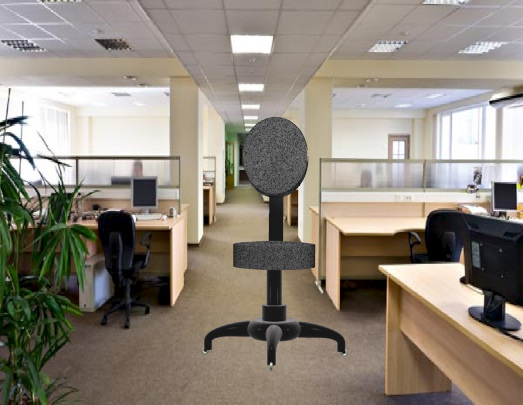
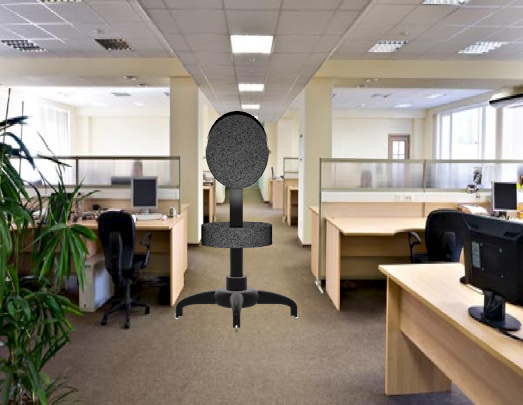
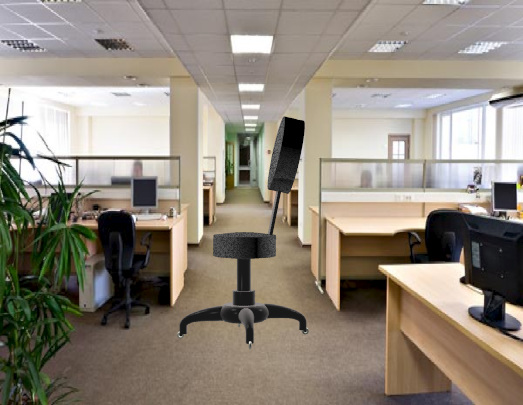
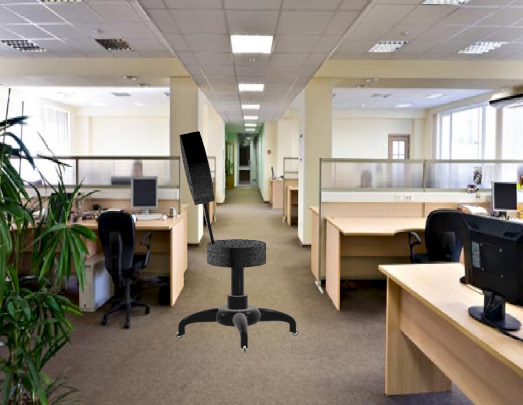
I was tasked to design an office chair using the rhinoceros program and I created an office chair for staples to be sold to the lower end of the market. The problem I am addressing is to make an office chair that can be sold to the lower end of the market that must have a back, a metal body, at least four legs, and a seat. The skills I have learned while making this project is the more experience and knowledge I have with rhino and the techniques I can use with Rhino. I faced many problems trying to create this project. One of the problems I faced were the shape of my seat and the back rest. At first, my backrest and seat looked like a tombstone and did not look very comfortable. I overcame this problem by making the seat and the backrest more circular rather then a square. If I had more time, I would do a couple of things differently to make the project more appealing. One thing I would change would be the shape of my seat and backrest. Another thing I would change if I was given more time would be to change the way the picture looks to make it more realistic and to add animation to it.
Office Chair
Kyle Simoentti's Part of the Rube Golberg Project
My part of the project involved dominoes falling down, hitting a ball which causes a chain reaction. My part of the project is the first part of the animation. The first step my project was to make the objects that would be used in the animation. I made dominoes, a ball, an elevator for the ball, a ramp, a pipe, and a button. The next step of the project was to put all the objects together to make the animation. After all the objects were put together in a scene, the next step was to animate the project. The animation used 109 frames and the ball makes it past 5 stages. Once the ball hits the button, the next animation starts which is done by two other people. Not many problems were faced while doing this project. The problems that occurred during this project was the animation and the ramp that the ball slides down on. These problems were overcome. What I learned form doing this project was learning how to animate using rhino 4.0. If I had more time to do this project, I would change the way the animation looks and the way the objects look due to lighting affects. The purpose of this animation was to make a chain reaction using at least 5 animations. This project was based on the Rube Golberg project.
| Kyle Simonetti's Rube Golberg Project |
Kyle Simonetti's Part of the Power Armor
My part of the task to make power armor using rhino 4.0 was to make the legs for the project. At first, I was working on a sword for the armor but that was scrapped. The legs was very difficult to me due to the complexity of the shape. If I had more time then the time I was given, I would have added a lot more details to the leg and make it look more realistic. I faced a lot of problems while making the piece. I am not to familiar with all the different commands that rhino has to offer which makes everything a bit more difficult. Another problem I had with this project was that I was given a short amount of time to do the legs due to most of the class being used to work on the sword. Another problem that faced was that the shape of the legs was a little to complex for my understanding of rhino. I overcame these problems with a little help. I used many different commands to make the legs of the armor.
Spaceship Project
I was tasked to design a spaceship. The design I chose was made for a futuristic project for NASA. It can travel at the speed of light with its turbo engines. When the lights get bright, the spaceship takes off at supersonic speed, as fast as the speed of light. There were many difficulties that I faced while making this spaceship. One difficulty I faced was the hull of the spaceship. I had to create points to make it stick out a little and it took me a while to make. After a lot of tries, It finally got to the position I wanted it to be in. Another difficulty I had was the radar on the bottom engine. I wasn't to sure how to approach it at first, but after some thinking, I got the radar to look somewhat like what I wanted it to look like. From doing this project, I learned how to use control points a little better than I used to be able to do. If I was given more time, I would have tried to make the lights on the engines of the ship light up when it moved in my animation.
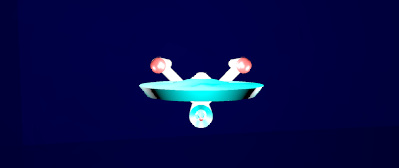
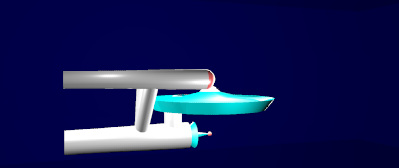
| star_trek_spaceship.3dm |
| Spaceship animation |
Key Chain Final Project
In this project, I was tasked to design a key chain. The key chain I made is flat and is based off of Mario's mushroom. It is made for children and has a mirror in the middle of it. It has a basic structure and is mostly red, white, and tan with eyes that are black and white. I faced some difficulties making this key chain. One difficulty that I faced was filling in the body. I was not sure how to do it at first but I later found out about the loft command. Another difficulty I had was the eyes. When I first made the eyes, they did not look very good so I tried multiple different ways to make them. After some tries, I found eyes that I liked. In this project, I learned to use the loft command to fill in my key chain design. If I had more time, I would have made the eyes look different and the body more rounded.
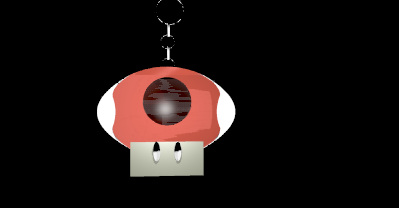
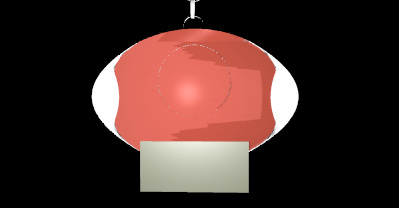
| key_chain.3dm |
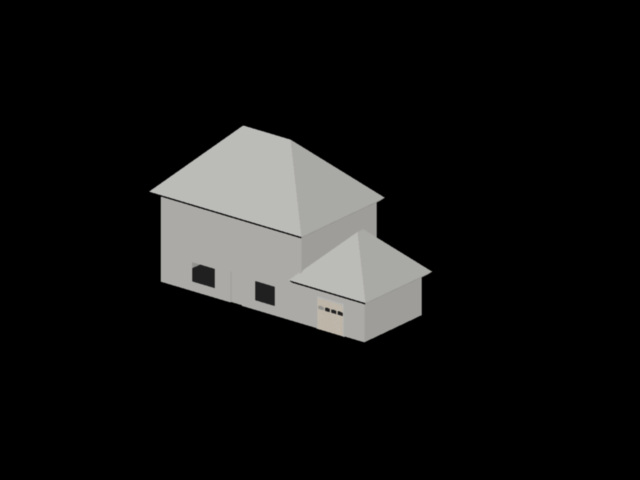
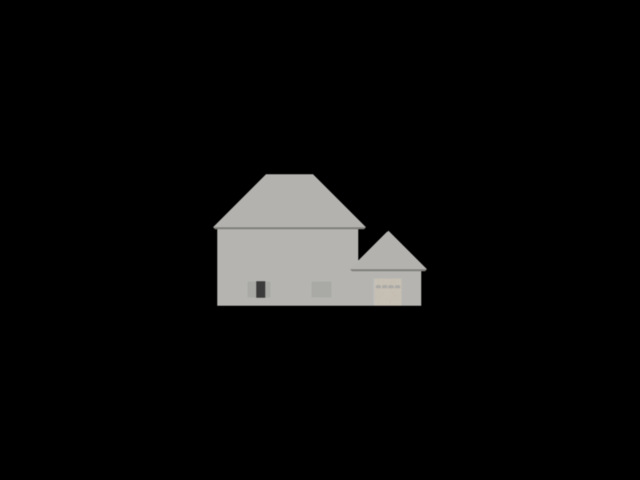
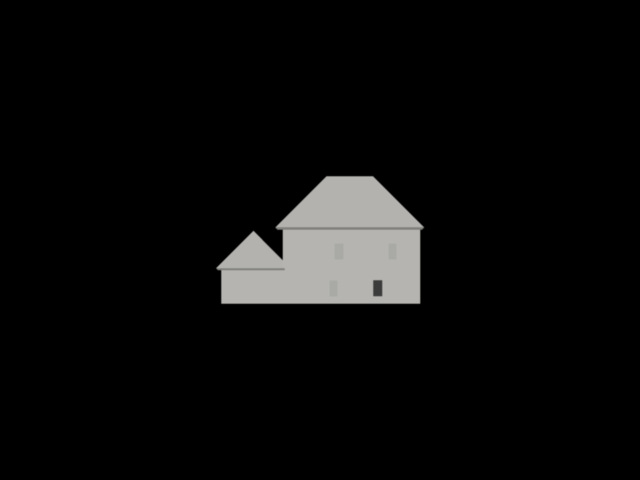
House Project
In this project, I was tasked to design a cape house with the Auto Cad 2015, something I am unfamiliar with since I previously used rhino to make my projects. I had a lot of trouble with this project and would have wanted to add more such as more rooms, house hold appliances, color, and more texture. I started wit the floor of the house and worked my way up. The most difficult part of this project was probably the roof. The command seemed to work weirdly and it took some time and help from my teacher to get. Making this house, I learned a lot about the new program and I hope to learn a lot more about it.
3D Image of the House
Front of the House
The Back of the House
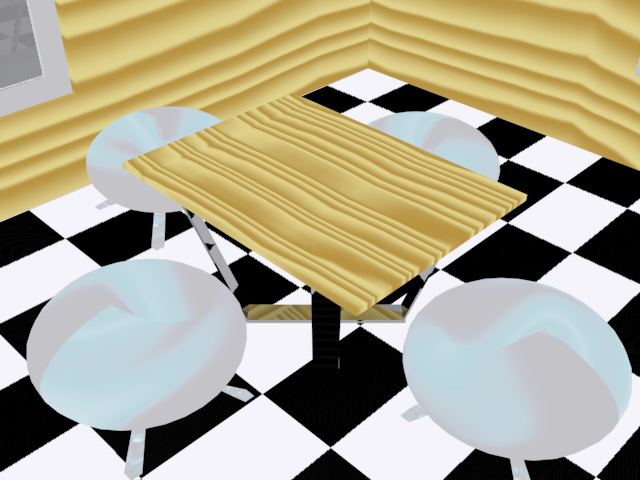
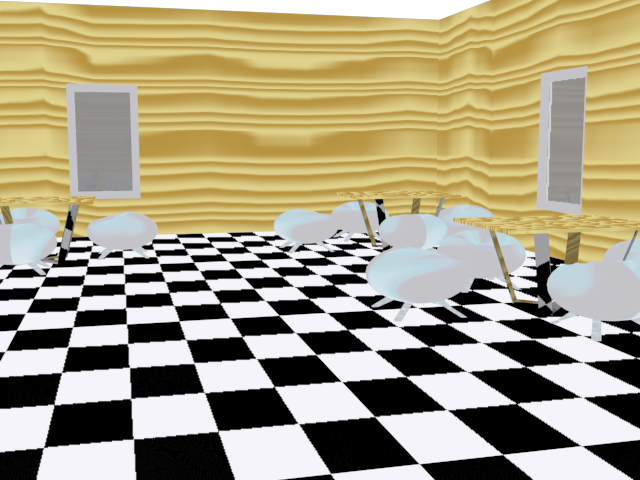
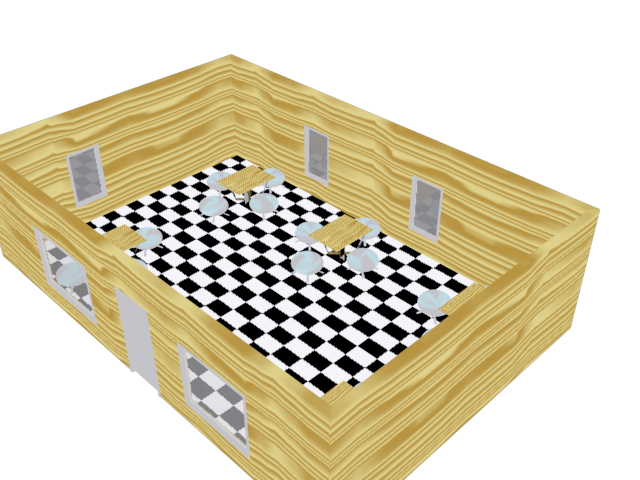
Diner